Introduction
Leather seats in your SUV are a symbol of luxury and comfort, but even the highest-quality leather is susceptible to scratches. Custom leather seat covers can elevate the look and feel of your vehicle, but when they get scratched, it can be frustrating. Whether it’s from everyday use, pets, or sharp objects, fixing those scratches quickly will keep your seats looking pristine. In this guide, we’ll walk you through 9 quick fixes for scratches on custom leather SUV seat covers.
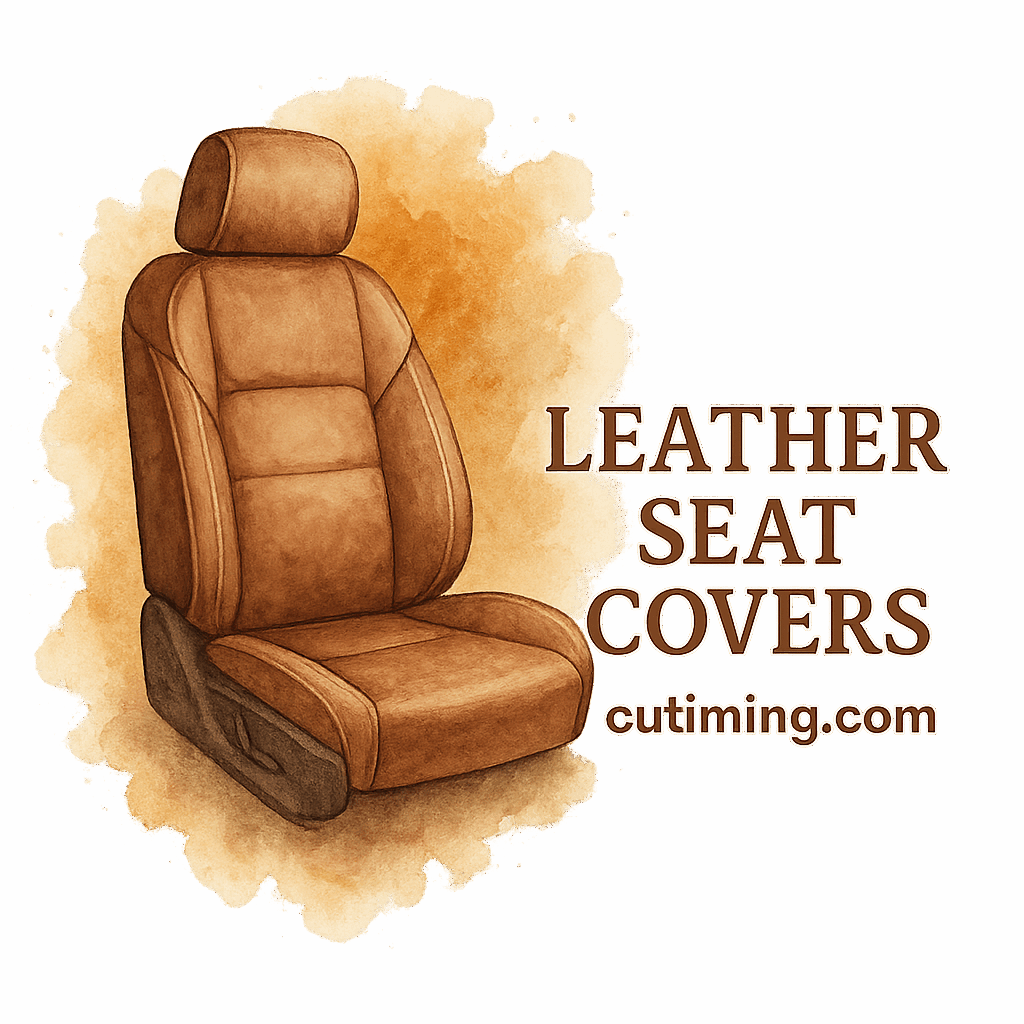
Understanding Leather Seat Covers
What Are Custom Leather SUV Seat Covers?
Custom leather seat covers are designed to fit your vehicle’s seats perfectly. These covers are typically made from premium leather, offering both aesthetics and durability. Unlike standard seat covers, custom ones are tailored to match your vehicle’s make and model, ensuring that they fit snugly and provide maximum protection.
Why Scratches Happen on Leather Seats
Common Causes of Scratches on Leather
Leather is a tough material, but it’s not immune to damage. Scratches can happen for various reasons:
- Sharp objects: Keys, pet claws, and metal zippers can all leave marks.
- Accidental impacts: Bumping into something or dragging a heavy object across the seats can leave visible scratches.
- Wear and tear: Over time, constant friction from getting in and out of the car can cause fine lines and scratches on the leather.
The Importance of Prompt Repairs
Why You Shouldn’t Ignore Scratches on Leather Seats
Ignoring scratches on leather can lead to further damage. The longer the scratch is left untreated, the deeper it can get, which might require expensive repairs. Prompt fixes can restore the leather’s appearance and prevent the problem from escalating. Moreover, maintaining the aesthetic of your leather seats helps retain your vehicle’s resale value. Regular maintenance, like using leather cleaners, can also help in this regard.
9 Quick Fixes for Scratches on Custom Leather SUV Seat Covers
1. Cleaning the Scratched Area
Before you attempt any repairs, the first thing you should do is clean the scratched area. Dirt and grime can make scratches more noticeable and harder to fix. Use a soft cloth and a leather cleaner to gently wipe the surface. Avoid harsh chemicals that could further damage the leather.
Why Cleaning is the First Step: Cleaning removes any impurities, ensuring that you’re not rubbing dirt into the scratch as you work on it.
2. Use of Leather Conditioner
After cleaning, it’s a good idea to apply a leather conditioner. Leather conditioners moisturize the material, which can help the scratch blend in. These conditioners often contain oils that nourish the leather and restore its natural texture.
Nourishing the Leather: Conditioning the leather helps prevent it from becoming brittle and ensures that it remains flexible, which can reduce the visibility of scratches. If you want to explore different conditioners, check out this leather care guide.
3. Leather Repair Kits
If the scratch is deeper, you might want to use a leather repair kit. These kits typically contain a colorant, filler, and instructions on how to fix scratches. The filler fills in the scratch, and the colorant helps match the leather’s original color.
Step-by-Step Guide to Using Leather Repair Kits:
- Clean the area: Use a leather cleaner to remove any dirt and debris.
- Apply the filler: Use the included spatula to apply the filler to the scratch.
- Blend the color: Once the filler is dry, use the colorant to blend the repaired area with the rest of the seat.
- Finish with a sealant: Most kits come with a sealant to protect the repair.
For more options, visit leather seat installation tips for further guidance.
4. Using Leather Dye or Colorant
If the scratch has affected the color of the leather, you can use a leather dye or colorant. Choose a dye that matches the color of your seat covers. Carefully apply the dye with a soft cloth and blend it into the surrounding area.
Matching Your Leather’s Color: Make sure to test the dye on an inconspicuous area first. This will help you confirm that the shade is an exact match.
For additional customization, look into custom leather options that can offer a variety of finishes.
5. Leather Filler for Deep Scratches
For deeper scratches, you might need to use a leather filler. This specialized filler works by filling in the scratch, making it less visible. After applying the filler, you can use sandpaper to smooth out the surface and create a more natural finish.
How to Use Filler for Deeper Scratches:
- Apply the filler directly into the scratch.
- Use a spatula or your finger to smooth it out.
- Allow it to dry completely before moving on to the next step.
Check out our guide on affordable accessories for tools you can use in your DIY leather seat repair.

6. Professional Leather Repair Services
While DIY fixes work for minor scratches, some deep scratches or extensive damage might require professional leather repair services. A professional can restore your seats to their original condition and ensure the repair is done correctly.
When Should You Consider a Professional?: If you’re not confident in your DIY skills or if the damage is too severe, hiring a professional leather repair service is a smart choice. Find nearby experts through our SUV models compatibility page.
7. Preventive Care: Regular Maintenance
Regular maintenance is key to keeping your leather seats looking great. Use leather cleaners and conditioners regularly to maintain the texture and prevent cracks or scratches. Always keep sharp objects away from the seats and vacuum them to remove debris that could cause friction.
How to Keep Your Leather Seats Scratch-Free: A regular cleaning routine combined with proper care ensures that your seats stay looking new for longer.
If you’re new to leather care, start by browsing seat style maintenance tips.
8. DIY Custom Seat Covers for Protection
If you’re prone to scratches, investing in DIY custom seat covers can be a great option. These covers are designed to fit your seats perfectly, providing extra protection from wear and tear. You can even go the extra mile by customizing them with two-tone leather to add style while protecting the original material.
Customizing Your Seats to Avoid Future Damage: Custom covers offer an additional layer of defense against scratches while giving your SUV a unique, personalized touch.
For more inspiration, explore our custom seat care section.
9. Reupholstery as a Last Resort
If your leather seats are beyond repair, reupholstery may be your last resort. While this is a more expensive solution, it can completely restore your seats to their original condition.
Knowing When to Go Beyond DIY Fixes: If your seats have extensive damage, reupholstery might be the best long-term fix.
Explore our guide on custom seat covers and how they can offer an affordable alternative.
Tips to Avoid Future Scratches on Leather Seats
- Use Seat Covers: Custom leather seat covers can protect your seats from scratches and spills. Learn more about options at our buying guides.
- Avoid Sharp Objects: Always keep sharp items away from the seats to prevent damage.
- Regularly Clean and Condition: Keeping your seats clean and conditioned will prolong their life and reduce the risk of damage.
Conclusion
Scratches on custom leather SUV seat covers can be annoying, but with the right fixes, they’re usually nothing to worry about. Whether you’re using a leather repair kit, applying conditioner, or opting for professional repair services, addressing the issue quickly will help keep your seats looking new for years. Regular maintenance is key to ensuring your leather seats stay scratch-free and continue to enhance your vehicle’s appearance.
FAQs
1. Can I fix deep scratches on leather seats myself?
Yes, with the right tools like a leather repair kit or filler, you can fix deep scratches on leather seats at home.
2. How often should I condition my leather seats?
It’s recommended to condition your leather seats every 3-6 months, or more frequently if the leather looks dry or faded.
3. Are leather repair kits effective for all types of scratches?
Leather repair kits are great for most types of scratches, but they may not work for very deep gouges. In those cases, professional repair might be necessary.
4. Can leather dye be used on all colors of leather?
Yes, but it’s important to choose the right color that matches your seat covers. Always test the dye on a small area first.
5. How long does it take for a leather repair kit to dry?
Most leather repair kits take 24-48 hours to fully cure, depending on the product and environmental conditions.
6. Is it better to prevent scratches or repair them?
Preventing scratches is always the best option. Regular maintenance, cleaning, and using seat covers will help avoid the need for repairs.
7. When should I consider reupholstering my leather seats?
If the damage is too extensive or the leather is severely cracked, reupholstery might be the best solution to restore your seats.